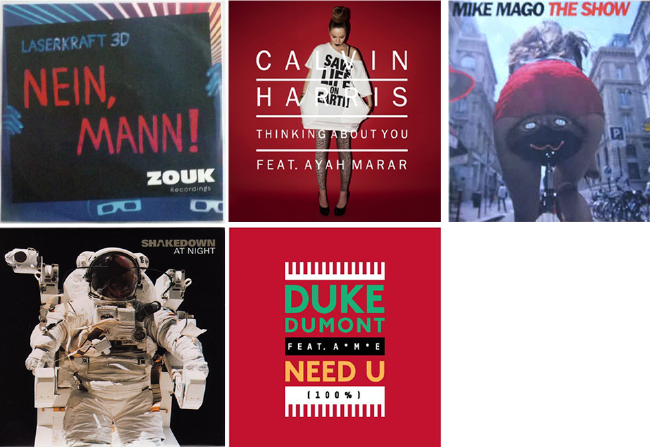
Just Another Mix #1
Laserkraft 3D – Nein Mann Calvin Harris – Thinking About You Mike Mago – The Show Shakedown – At Night Duke Dumont – Need You (100%)
Read more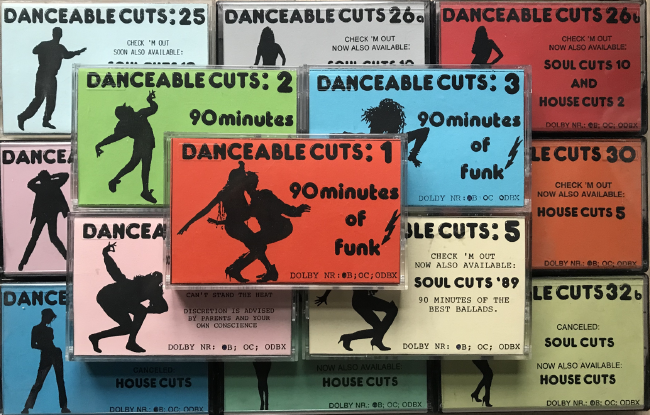
Danceable Cuts mixtapes
From 1989-1993 I contributed to this series. Mixed & recorded with 2 Technics SL1210’s, Gemini MX2200, Revox B77 and a lot of vinyl.
Read more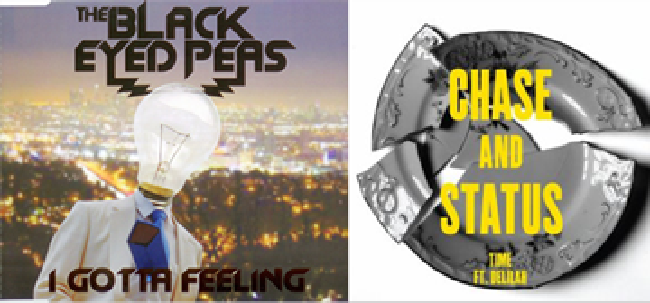
Chase & Status vs the Black Eyed Peas – Time’s got a feeling
The Chase & Status – Time remix competition was already closed when I found out about it but fortunately the remix stems were still available.
Read more
Recording Groovylicious part 2
One of the SAE assignments was to record a complete band (in this case: Groovylicious) in the SSL studio during multiple sessions.
Read moreRecording Groovylicious
Last weekend I did a recording session with members of Groovylicious as a part of my SAE SSL recording assignment. Check out the results below!
Read more
Recording Surface Noise
As a preparation for our SAE SSL recording assignment, my classmates and me recorded the song Freddy Chicken Dragon by Surface Noise.
Read more